「gameplay mechanics」 illustration images(Popular)|2pages
956 hits 49~96
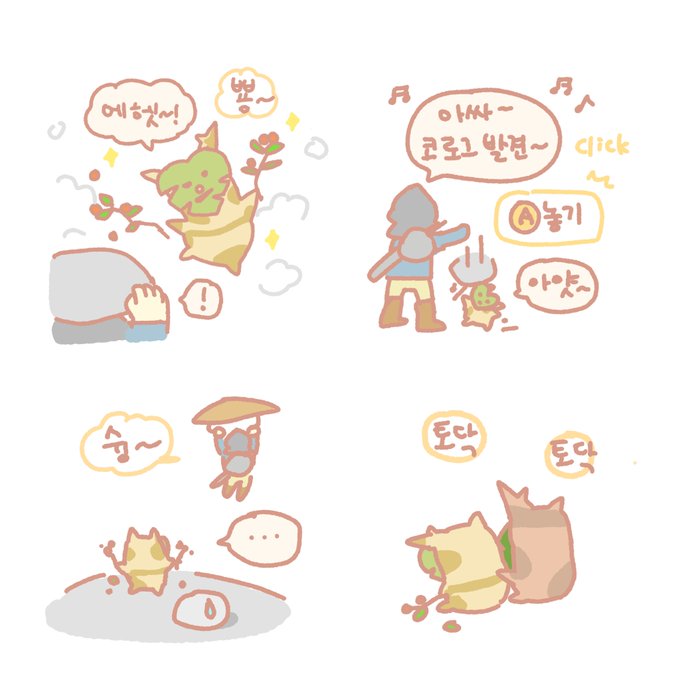
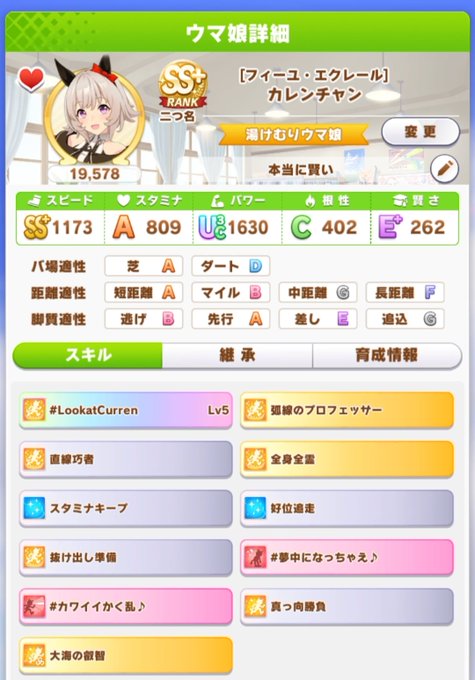
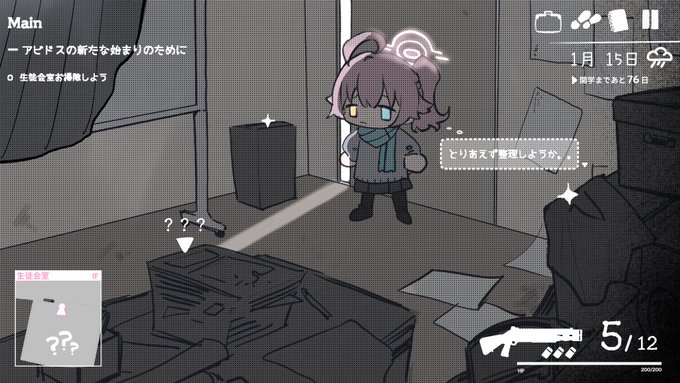
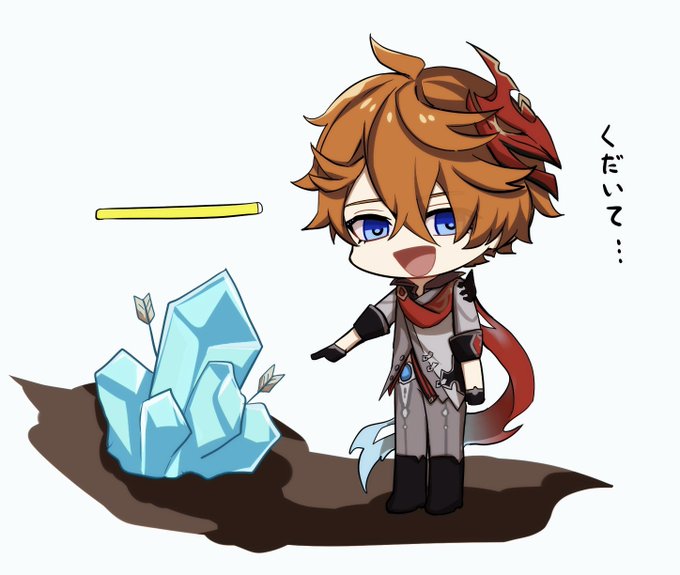
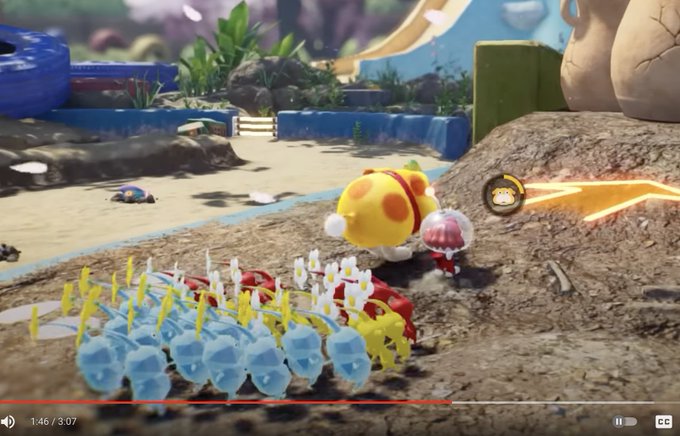
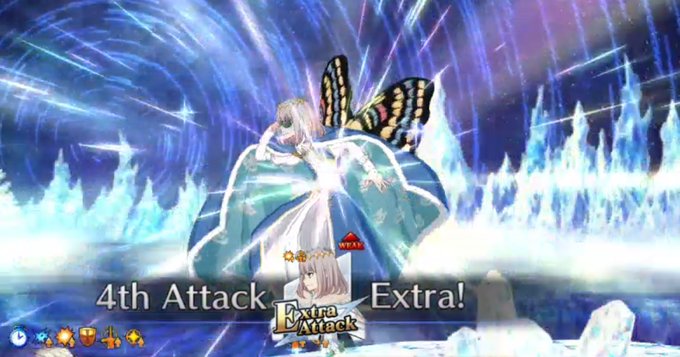
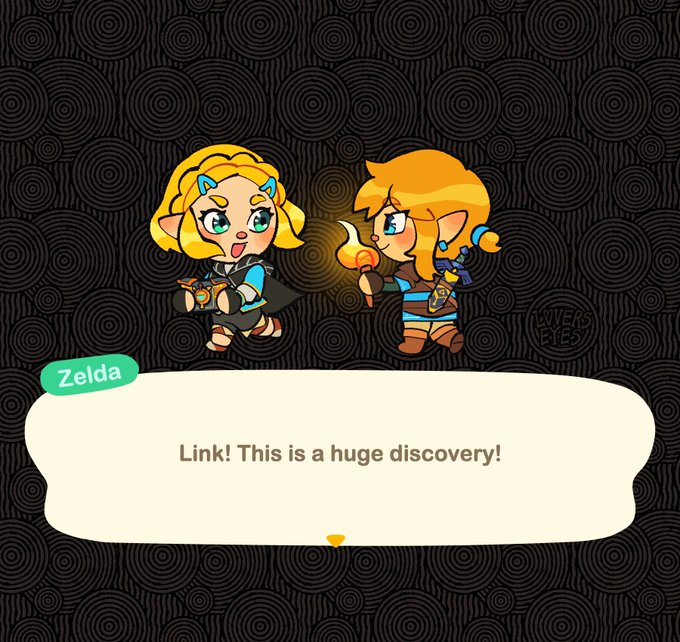
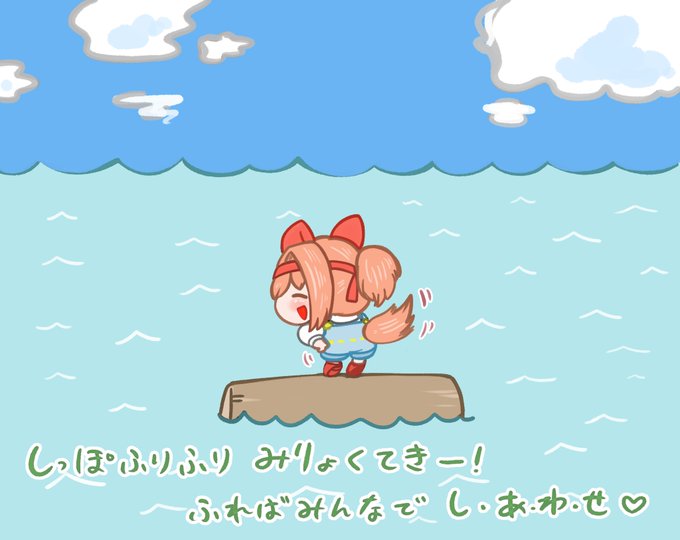
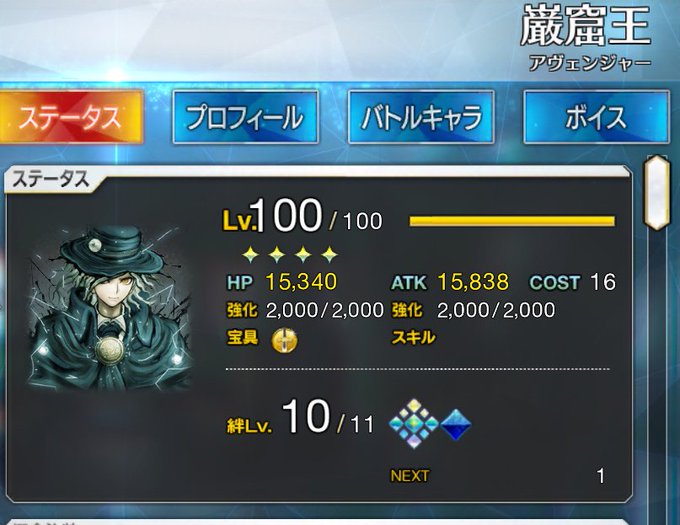
gameplay_mechanics 1girlgameplay_mechanics fake screenshotgameplay_mechanics sologameplay_mechanics long hairgameplay_mechanics animal earsgameplay_mechanics horse earsgameplay_mechanics no humansgameplay_mechanics horse girlgameplay_mechanics open mouthgameplay_mechanics brown hairgameplay_mechanics bangsgameplay_mechanics holdinggameplay_mechanics chibigameplay_mechanics simple backgroundgameplay_mechanics 1boygameplay_mechanics white backgroundgameplay_mechanics tailgameplay_mechanics health bargameplay_mechanics smilegameplay_mechanics shirtgameplay_mechanics skirtgameplay_mechanics multiple girlsgameplay_mechanics short hairgameplay_mechanics weapongameplay_mechanics horse tailgameplay_mechanics school uniformgameplay_mechanics outdoorsgameplay_mechanics closed eyesgameplay_mechanics blue eyesgameplay_mechanics parodygameplay_mechanics hatgameplay_mechanics glovesgameplay_mechanics bowgameplay_mechanics long sleevesgameplay_mechanics blushgameplay_mechanics jacketgameplay_mechanics english textgameplay_mechanics pokemon (creature)gameplay_mechanics hair between eyesgameplay_mechanics hair ornamentgameplay_mechanics black hairgameplay_mechanics pleated skirtgameplay_mechanics blonde hairgameplay_mechanics standinggameplay_mechanics male focusgameplay_mechanics looking at viewergameplay_mechanics red eyesgameplay_mechanics ahogegameplay_mechanics grass